
DISCLAIMER
Before continuing with this process, ensure that you have a copy of Windows 10 attached to your computer. After you made sure of that, restart your computer.

After restarting your computer, this screen will appear. Select your desired language, time zone and keyboard, and then proceed to click next.
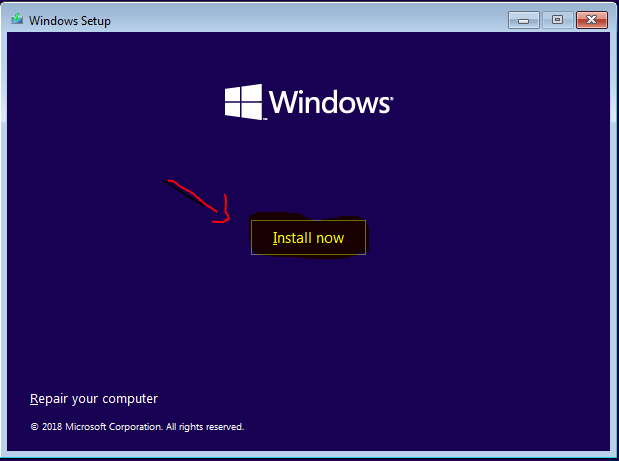
Once you get to this screen, all you have to do is press “Install”, unless you want to repair your computer

After getting this setup screen, I chose to select “I don’t have a product key” since I do not have one. If you do have a product key, type in the key in the given bar, and press “Next”. But if you want to continue with this tutorial, click “I do not have a product key”.
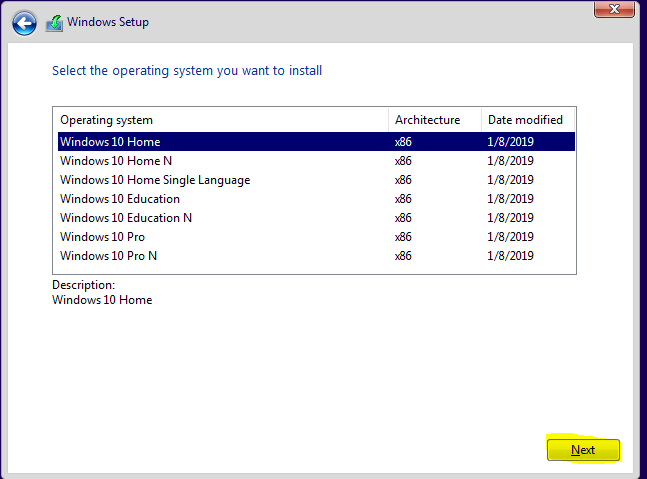
Once on this screen, select the operating system you want to install, and click “Next”.

Once this tab opens, read the Microsoft Software License Terms, and click the box next to “I accept the license terms”. After you see a check mark, proceed to the next step by clicking next.
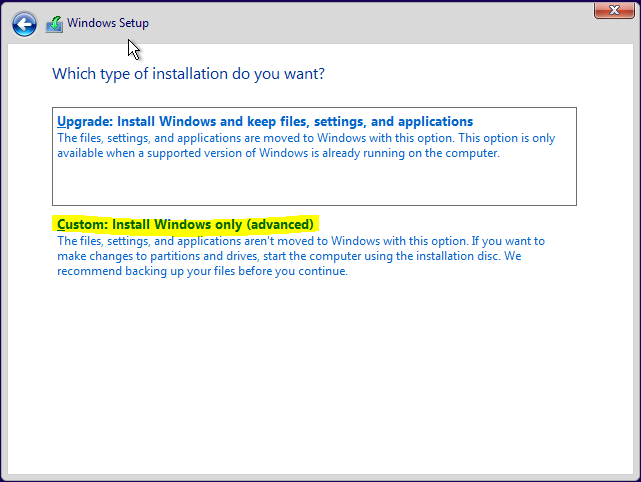
After you get on this screen, I recommend the custom installation, (the second option), since it gives you more options on where to put your installation. If you want a faster installation, click “Upgrade”, but select “Custom” to continue with this process.

Once on this screen, you may see multiple drives show up in the list. When selecting the drive, you also have the options of deleting and formatting which can either get rid of or empty a drive respectively. Once you select your drive, click next.

You should get this screen, and all you have to do is wait for the installation to finish.
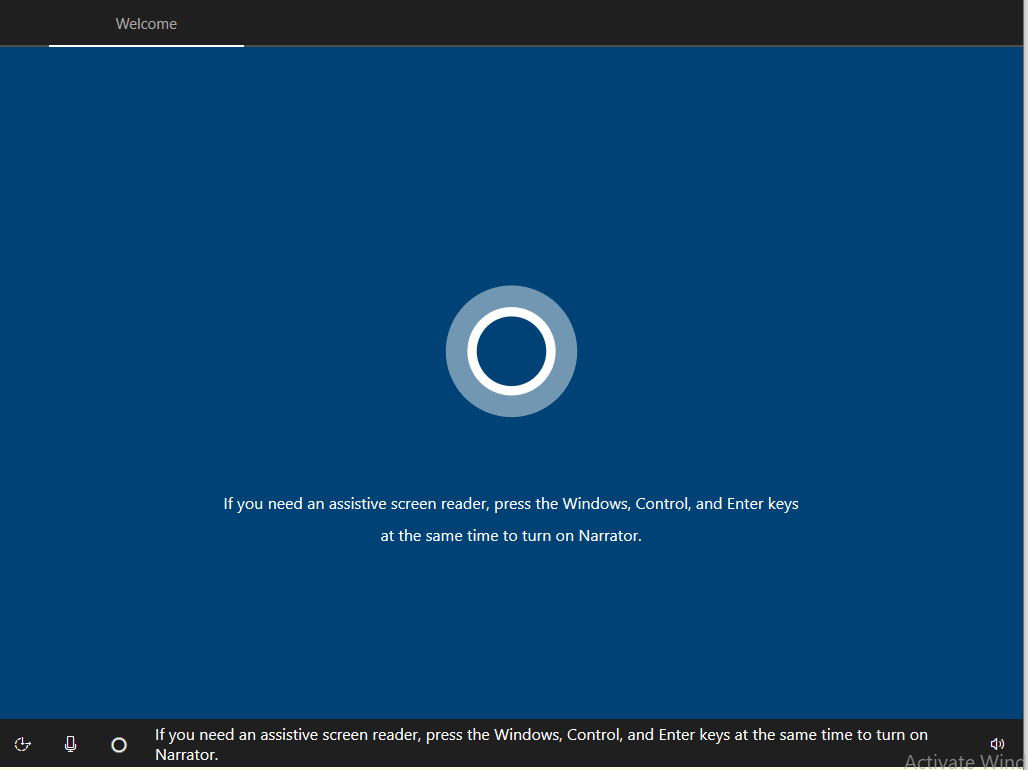
The next screen should appear, and you can choose to either mute “Cortana” or enable it.

Choose the country you reside in, then continue by pressing “Next”.

Choose your keyboard layout and then confirm.

Choose another keyboard if you want to, but for this tutorial, I choose, “Skip”. After pressing next, your screen will start loading.
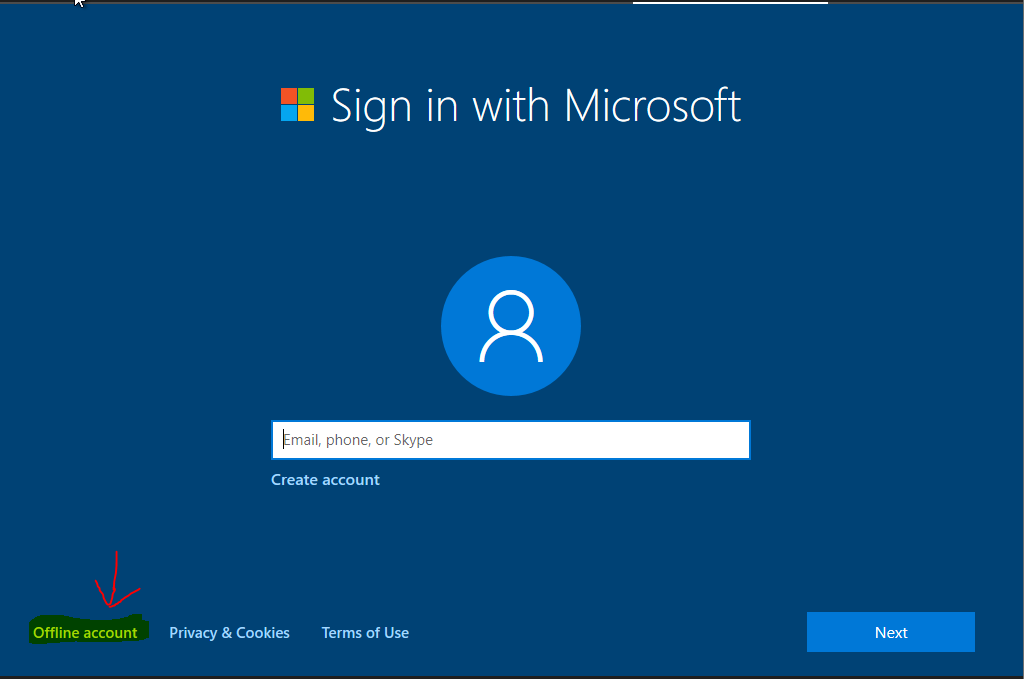
Type in your e-mail if you have an account with Microsoft, but for this guide, I am selecting “Offline account”.

Once again, choose “Yes” if you have a Microsoft account, but for this tutorial, I am choosing “No”.

Choose your desired name and follow the instructions for the next few steps.

After a few slides, choose to make Cortana your assistant or not, but for this step, I am selecting “Decline”.

For this step, select “Yes” if you want to enable activity history, but I am going to click “No”. After clicking “No”, your privacy settings will show up, so customize it to your liking, and click “Accept”. The process of loading your computer will take a few minutes, but after, this screen should show up.

Once you see this window, you have successfully installed Windows 10 onto your computer. Congratulations!
